UNIVEGA SUPER STRADA
Hello fellow Classsic Japanese Bicycle enthusiasts.
Our latest bicycle restoration project is a 1984 Univega Super Strada. We purchased this bike about 5 years ago and a lot has been going on since then.
We moved to a different State and had various other issues which put this particular restoration on hold for a while. But now we are just about done and want show the build along the way and what we have done.
The bike was totally stripped down and given a good washing and polishing. Even though the paint was in very good condition, it had enough nicks (no dents) to require some touch up. And, since it is red in color, it was easy to find nail polish to match.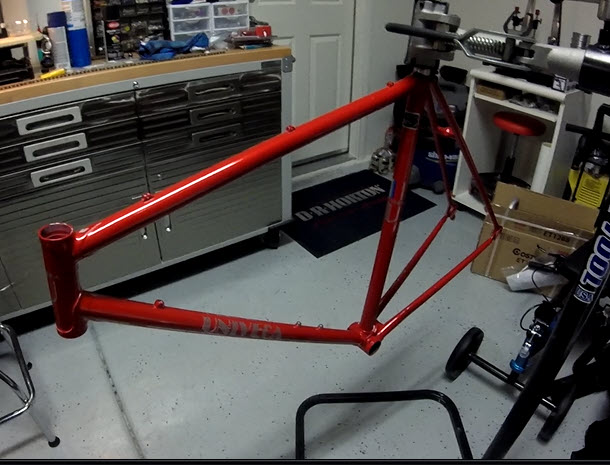
After applying the touch up, I then did another light polishing to help blend the touch up paint in and proceeded with buffing. I used a paste wax. After appling it and wiping down with a microfiber cloth, it really came out looking like new.
Cleaning the components was next. They were soaked in a cleaning solution, that was diluted with water, usually over night depending how dirty they are. I use Rock N Roll Miracle Red Bicycle Degreaser/Hand Cleaner/Stain Remover.
I used to use a product by Performance Bicycle but it only came in the 16oz. size. Since I go through this stuff like water it was not feasible to buy several bottles at a time. After using the Miracle Red degreaser I found that it worked just as well even when diluted and came in a gallon size.
Cleaned up all the components then polished them. Some I just hand polished with Simichrome and some I polished using the buffer .I find that Simichrome is the best stuff on the planet for polishing and buffing. I use it after buffing on the machine to remove the residue and bring the part to a lustrious shine.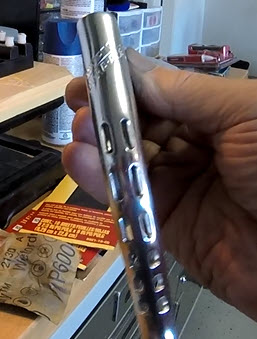
Simichrome is not very expensive and comes in either one tube, a three pack or in a can.
If the brake calipers that came on this Univega are in good shape I hand polish with Simichrome. If not, I will reluctantly use the buffing machine. The buffing machine tends to over-shine the metal giving it an unnatural look and just doesn’t look original.
I do use the buffer for the headset parts, the shifters, hubs and the metal brake cable guides. The derailleurs I usually hand polish.
If some of the compenents have scratches, I will remove them with a sandpaper process. Most of the time I can start with a 220 grit. There were some really deep scratches on the head of a stem that looked like someone had turned the bike upside down on asphalt!
On that stem, I had to actually use the grinder wheel and lightly go over the scratches, bringing them down so I could continue with the sandpaper. I also do the whole surface that has the scratches on it. If you only try and do the one area where the scratches are, the rest of the area will not look as good.
After the 220 grit I use 400 grit. I then use 600, 800, 1500 and finally 2000 grit. I dip the sandpaper in water starting with the 400 grit and every grit after that. After the 2000 grit, I apply Simichrome with a paper towel. If you look at the towel after a couple of rubs, you’ll notice it turn black. That’s the residue coming off. I keep folding the towel over so I’m appling the simichrome with a clean surface.
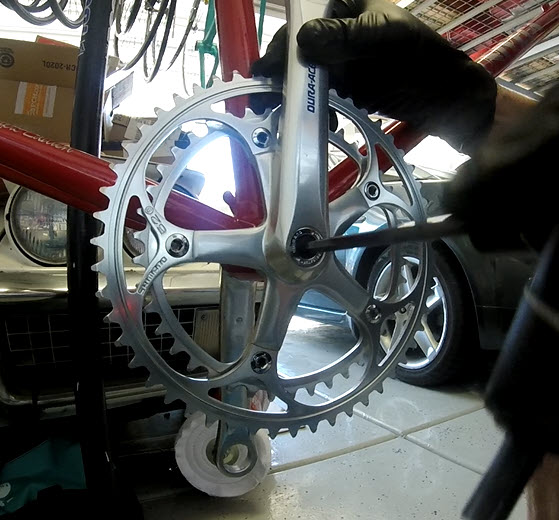
Next I start installing the components. I like to start with the bottom bracket and crankset followed by the derailleurs. Remember to install the front derailleur so that the bottom of the outside cage is 2 to 3 millimeters above the chainwheel. Also make sure that the outside cage is lined up perpendicularly with the outside chainwheel when looking down over it.
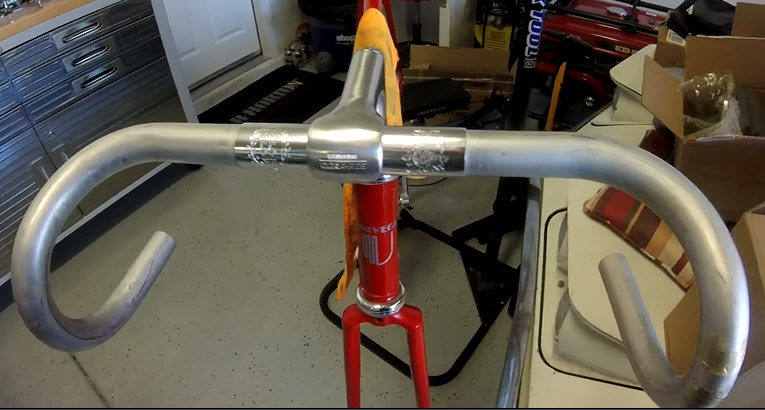
The Dyna-Drive pedals were installed next along with the blue NOS toe straps.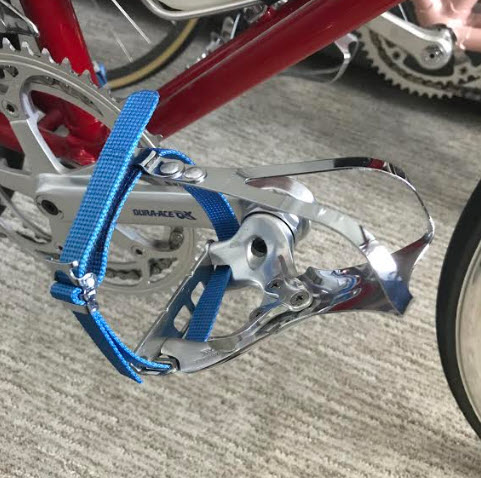 I then install the headset, fork race and fork.Next is the stem, handlebars and brake levers. Then I install the handlebar wrap. The Super Strada came with leather sew-on handlebar wrap so that was next.
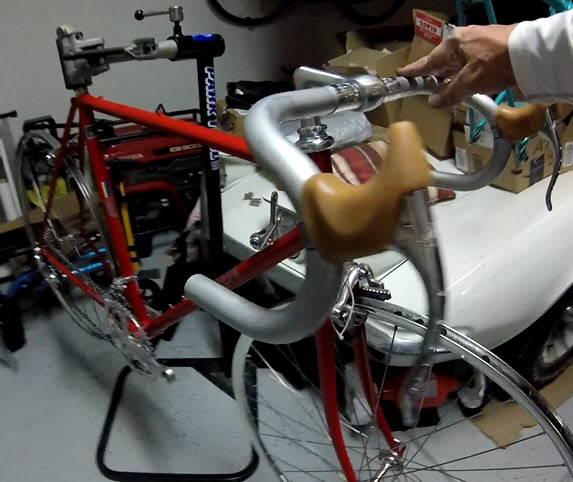
The seatpost is one of last parts that I clean, polish and install only because I use it to hold the bike in the stand.
The chain will go on next. If I’m using clincher tires, they will go on the rim next and then I install the wheels to the bike. If I’m using tubulars tires, hopefully, I purchased them in advance which, in this case I did not. So I installed the rims without the tires. This way I could get the brake and shifter cables installed.
This particular Univega Super Strada did not come with the usual AX calipers. The AX calipers work somewhat like the Campagnolo Delta brakes. The cable enters the caliper like a center pull in the middle of the caliper. The cable is anchored in the center. When pulling on the brake lever the cable pulls upward bringing the brake pads towards the rim.
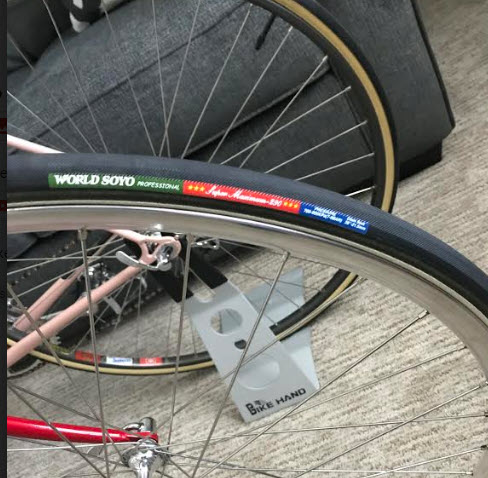
When the Soyo tubulars arrived, I installed them on the rims to stretch them. I then applied the top tube decals that were missing.
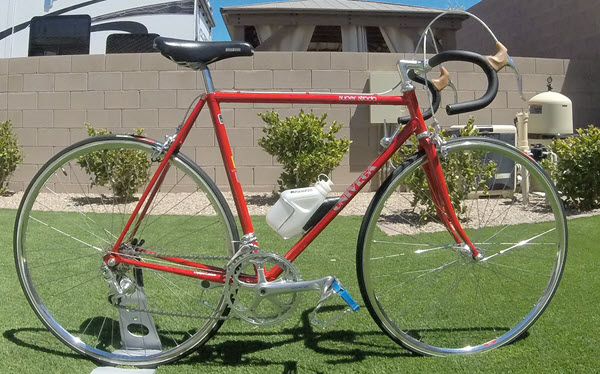
So, here she is, the final results! The paint is original except for some touch up areas. Everything else except for the handlebar wrap, brake lever hoods, cable and cable housing is original. Oh, I did rebuild the rims so the spokes and nipples are also new.
CLICK ON ITEM FOR MORE INFORMATION

We earn from qualified Amazon purchases with NO cost to you. In fact, ANY item that you need or were going to purchased anyway through the above links, helps support this site. Thank you for your support!